

How to install a chemical pump motor?
Oct 16, 2025
Hey there! As a supplier of Chemical Pump Motors, I've had my fair share of experiences with installation. It might seem like a daunting task, but with the right steps and a bit of know - how, you can get your chemical pump motor up and running smoothly. In this blog, I'll walk you through the entire process.
Before You Start
First things first, safety is key. Chemical pump motors are often used in environments where chemicals are present, so you need to take all necessary precautions. Make sure you're wearing appropriate personal protective equipment (PPE), like gloves, goggles, and a lab coat.
Also, gather all the tools you'll need. This usually includes a wrench set, screwdrivers, a level, and a multimeter. Having these tools ready will save you time and hassle during the installation.
Step 1: Choose the Right Location
The location where you install your chemical pump motor is crucial. It should be a well - ventilated area to prevent the buildup of fumes. The surface should be flat and sturdy to ensure the motor operates without vibrations.
If you're installing it outdoors, make sure it's protected from the elements. A shelter or a weatherproof enclosure can do the trick. Avoid areas where there's a risk of flooding or excessive moisture, as this can damage the motor.
Step 2: Prepare the Base
Once you've chosen the location, it's time to prepare the base. If you're using a concrete base, make sure it's cured properly. Clean the surface to remove any debris or dust.
If you're using a metal base, check for any rust or damage. You might need to sand it down and apply a coat of paint to prevent corrosion. Use a level to ensure the base is perfectly horizontal. This will help the motor run efficiently and reduce wear and tear.
Step 3: Mount the Motor
Now, it's time to mount the motor on the base. Carefully lift the motor and place it on the prepared base. Align the mounting holes on the motor with the holes on the base.
Insert the bolts through the holes and tighten them using a wrench. Make sure the bolts are tightened evenly to prevent the motor from being misaligned. You can use a torque wrench to ensure the bolts are tightened to the manufacturer's specifications.
Step 4: Connect the Piping
After mounting the motor, it's time to connect the piping. This is where things can get a bit tricky, especially if you're dealing with different types of chemicals.
First, make sure you have the right type of piping for the chemicals you'll be pumping. For example, if you're pumping acids, you might need to use Acid Pump Motor - compatible piping.
Connect the suction and discharge pipes to the pump. Use appropriate gaskets to ensure a leak - free connection. Tighten the pipe fittings using a wrench, but be careful not to overtighten, as this can damage the fittings.
Step 5: Electrical Connections
Electrical connections are one of the most critical parts of the installation process. Before you start, make sure the power supply is turned off.
Locate the motor's terminal box. Open it carefully and identify the terminals for the power supply and the ground. Connect the power supply wires to the appropriate terminals. Make sure the connections are tight and secure.
Use wire nuts or terminal blocks to connect the wires. Wrap the connections with electrical tape to prevent any short circuits. Connect the ground wire to the grounding terminal on the motor. This is essential for safety reasons.
Step 6: Check the Alignment
Once all the connections are made, it's important to check the alignment of the motor and the pump. Misalignment can cause excessive vibration, which can lead to premature wear and tear of the motor and the pump.
Use a laser alignment tool or a dial indicator to check the alignment. Adjust the motor's position if necessary. Make sure the motor and the pump are perfectly aligned both horizontally and vertically.
Step 7: Prime the Pump
If your pump requires priming, this is the next step. Priming is the process of filling the pump with liquid to remove any air pockets.
Follow the manufacturer's instructions for priming. This usually involves opening a priming valve and filling the pump with the liquid you'll be pumping. Once the pump is filled, close the priming valve.
Step 8: Test the Motor
Before you start using the pump for its intended purpose, it's important to test the motor. Turn on the power supply and let the motor run for a few minutes.
Listen for any unusual noises or vibrations. Check the temperature of the motor. If it gets too hot, there might be a problem with the installation.
Check the flow rate and pressure of the pump. Make sure it's operating within the manufacturer's specifications. If you notice any issues, turn off the motor immediately and troubleshoot the problem.
Step 9: Maintenance
Once the motor is up and running, regular maintenance is essential to keep it in good condition. Check the oil levels if the motor has an oil - lubricated system. Replace the oil at regular intervals.
Inspect the belts and pulleys for wear and tear. Replace them if necessary. Clean the motor regularly to remove any dirt or debris.
Conclusion
Installing a chemical pump motor might seem like a complex task, but if you follow these steps, you'll be able to do it successfully. Remember, safety is always the top priority, so make sure you take all the necessary precautions.

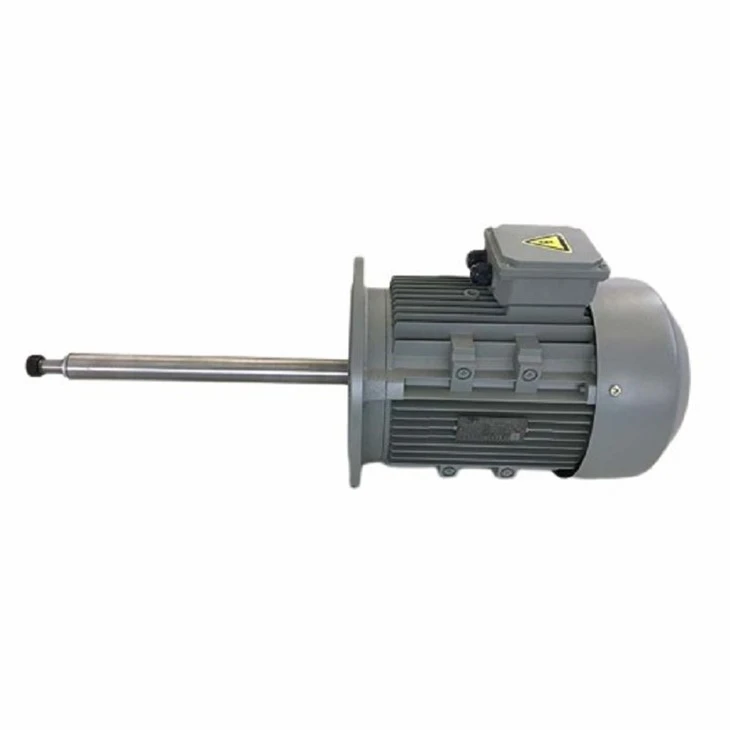
If you're looking for high - quality chemical pump motors, we've got you covered. We offer a wide range of products, including Portable Water Pump Motor and Acid and Alkali Pump Chemical Pump Motor. Our motors are designed to be reliable and efficient, ensuring smooth operation in various applications.
If you're interested in purchasing a chemical pump motor or have any questions about installation or maintenance, don't hesitate to get in touch. We're here to help you every step of the way.
References
- Chemical Pump Motor Installation Manuals
- Industry Best Practices for Chemical Pump Motor Installation